Hey there! As a supplier of PVC acoustic wall panels, I'm stoked to share some tips on how to connect these amazing panels together. Whether you're a DIY enthusiast or a professional contractor, getting the connection right is crucial for both the functionality and aesthetics of your project.
Why Connect PVC Acoustic Wall Panels?
First off, you might be wondering why you need to connect these panels. Well, PVC acoustic wall panels are designed to reduce noise and enhance the sound quality in a room. By connecting them properly, you create a seamless barrier that can effectively block out unwanted noise. Plus, a well - connected panel installation looks super sleek and professional.
Tools You'll Need
Before we jump into the connection process, let's talk about the tools you'll need. You don't need a whole bunch of fancy equipment, just a few basic things:
- Measuring tape: To get accurate measurements of your wall and the panels.
- Utility knife: For cutting the panels to the right size if needed.
- Adhesive: A good quality PVC adhesive is a must. Make sure it's suitable for the type of PVC panels you have.
- Screwdriver: If you're using screws to connect the panels, you'll need a screwdriver that matches the screw type.
- Level: To ensure that your panels are installed straight and level.
Preparing the Panels
The first step in connecting PVC acoustic wall panels is to prepare them. Start by laying out all the panels on a flat surface. Check each panel for any damage or defects. If you find any, set those panels aside and use them for smaller, less visible areas or contact your supplier (like me!) for a replacement.
Next, measure the area where you'll be installing the panels. Cut the panels to the appropriate size using a utility knife. Be really careful when cutting, as you want clean, straight edges for a good connection. If you're not confident in your cutting skills, you can always ask your supplier to pre - cut the panels for you.
Connecting the Panels with Adhesive
One of the most common ways to connect PVC acoustic wall panels is by using adhesive. Here's how you can do it:
- Apply the adhesive: Using a notched trowel, apply a thin, even layer of adhesive to the back of one of the panels. Make sure to cover the entire surface, but don't over - apply it.
- Position the panel: Carefully place the panel with the adhesive on the wall in the desired position. Press it firmly against the wall, starting from the top and working your way down. Use a level to make sure it's straight and level.
- Connect the next panel: Once the first panel is in place, apply adhesive to the side edge of the panel. Then, line up the next panel with the first one. Press the two panels together firmly, making sure there are no gaps between them.
- Smooth out the connection: Use a putty knife or a similar tool to smooth out any excess adhesive that squeezes out between the panels. This will give you a clean, professional look.
Using Screws to Connect Panels
Another option for connecting PVC acoustic wall panels is to use screws. This method is especially useful if you're installing the panels on a wooden or metallic frame. Here's how you can use screws:
- Drill pilot holes: Using a drill, make small pilot holes in the panels at the points where you'll be inserting the screws. This will prevent the panels from cracking when you screw them in.
- Attach the first panel: Place the panel on the frame and align it properly. Insert the screws through the pilot holes and into the frame. Use a screwdriver to tighten the screws, but don't over - tighten them as this can damage the panels.
- Connect subsequent panels: For each additional panel, align it with the previous one and insert screws through the overlapping edges to connect them. Make sure the panels are tightly connected and there are no gaps.
Finishing Touches
After you've connected all the panels, it's time for the finishing touches. Check for any gaps between the panels. If you find any, you can fill them with a matching PVC filler. This will give your installation a seamless look.
Also, clean the surface of the panels to remove any dust or debris. You can use a mild detergent and a soft cloth to clean the panels. Avoid using abrasive cleaners as they can scratch the surface of the PVC.
Our Product Range
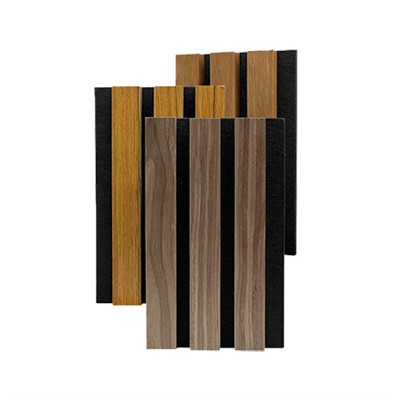
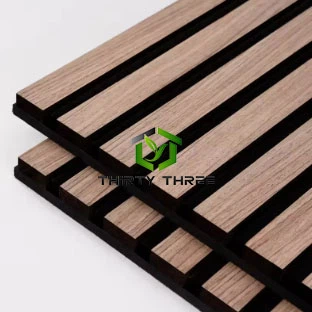
As a PVC acoustic wall panel supplier, we offer a wide range of high - quality products. Check out our Quality Assurance Economical Soundproof Office Slatted Wall Panels. These panels are not only great at soundproofing but are also very economical, making them a perfect choice for office spaces.
If you're looking for a wholesale option, our High Quality Akupanel With Wholesale Design is a fantastic choice. They are designed for bulk orders and offer great value for money.
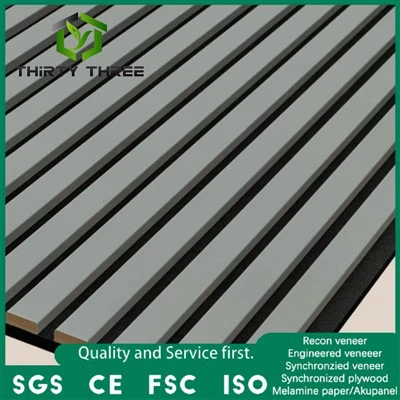
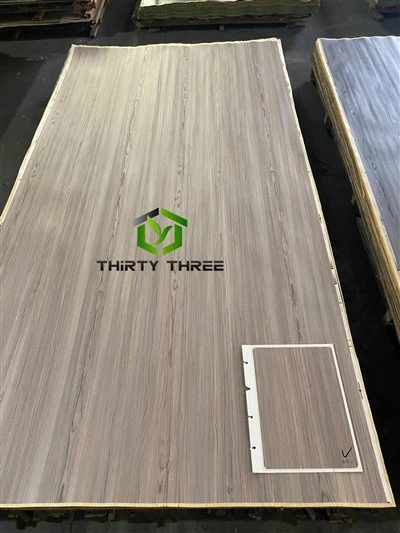
And for those who prefer a more modern look, our Hot Selling Melamine Paper Faced Acoustic Wall Panel is a hot favorite. The melamine paper gives the panels a stylish finish.


Let's Connect
If you have any questions about our products or need more guidance on connecting PVC acoustic wall panels, don't hesitate to reach out. We're here to help you with your project and ensure you get the best results. Whether you're a small business owner looking to soundproof your office or a homeowner wanting to create a quiet living space, we've got the right panels for you.
Contact us today to start discussing your purchasing needs. We're ready to have that chat and help you find the perfect PVC acoustic wall panels for your project.
References
- "PVC Installation Guide" - General PVC Association Handbook
- "Acoustic Wall Panel Basics" - Soundproofing Magazine